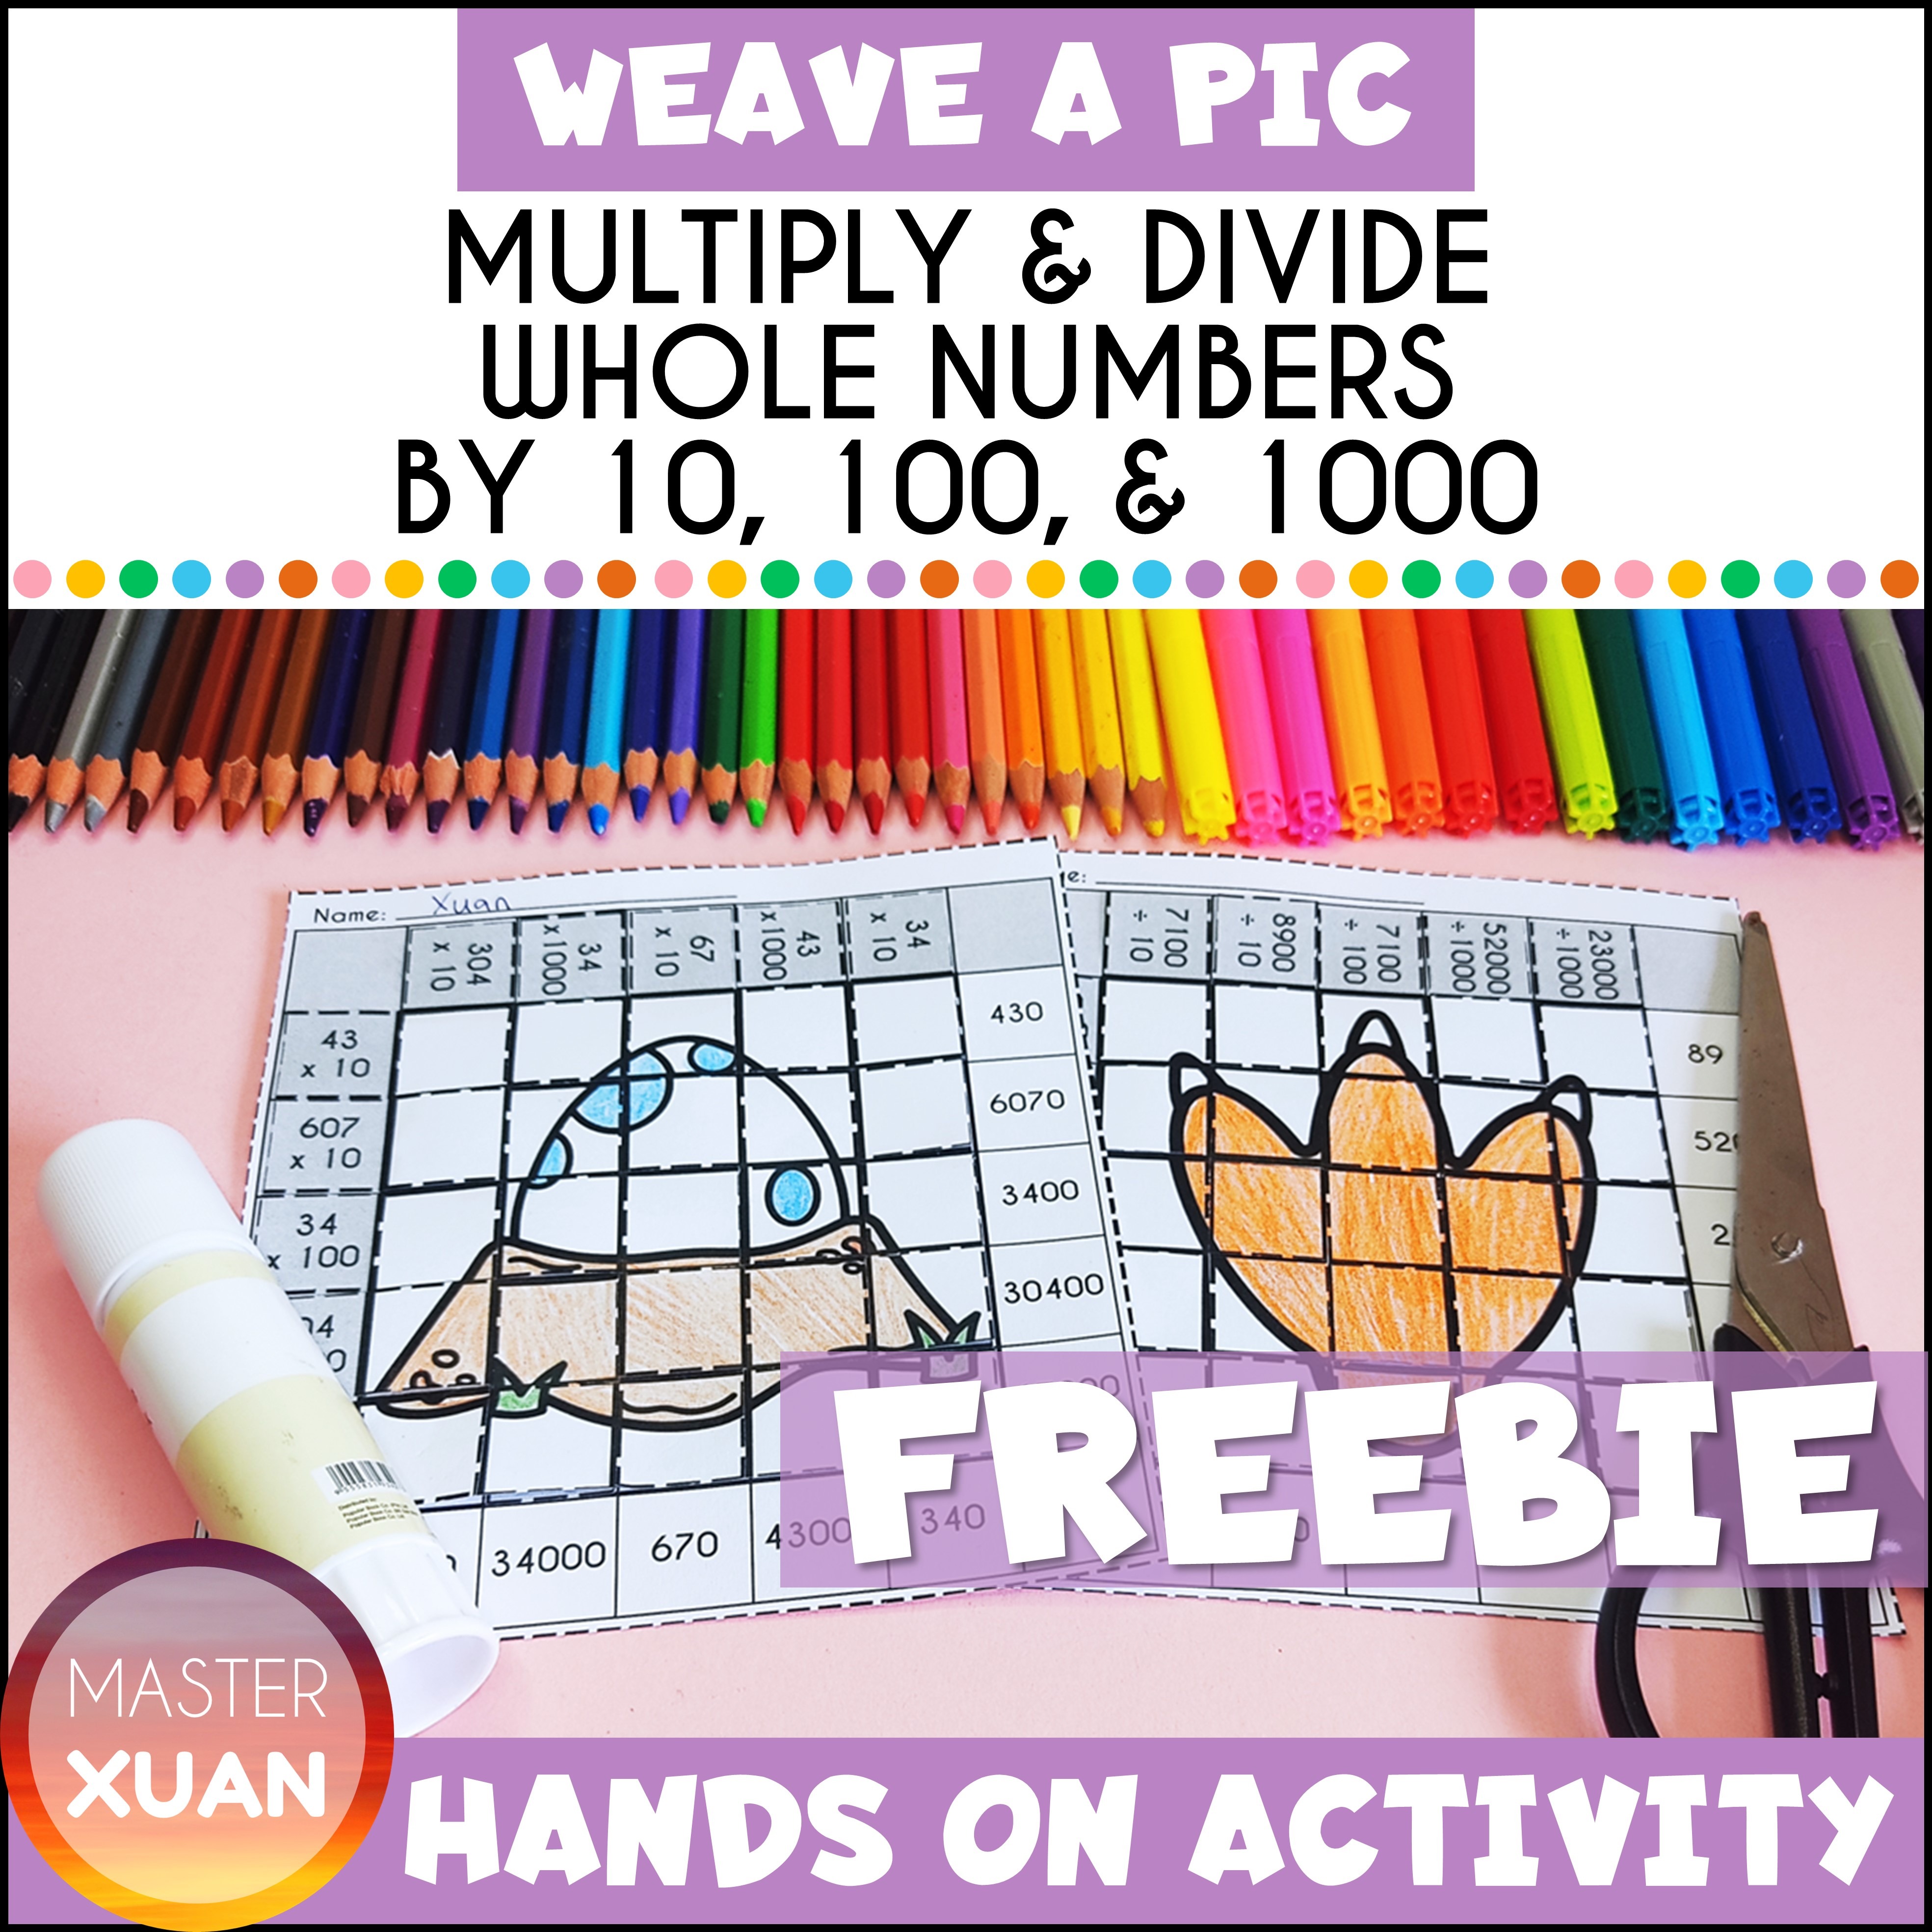
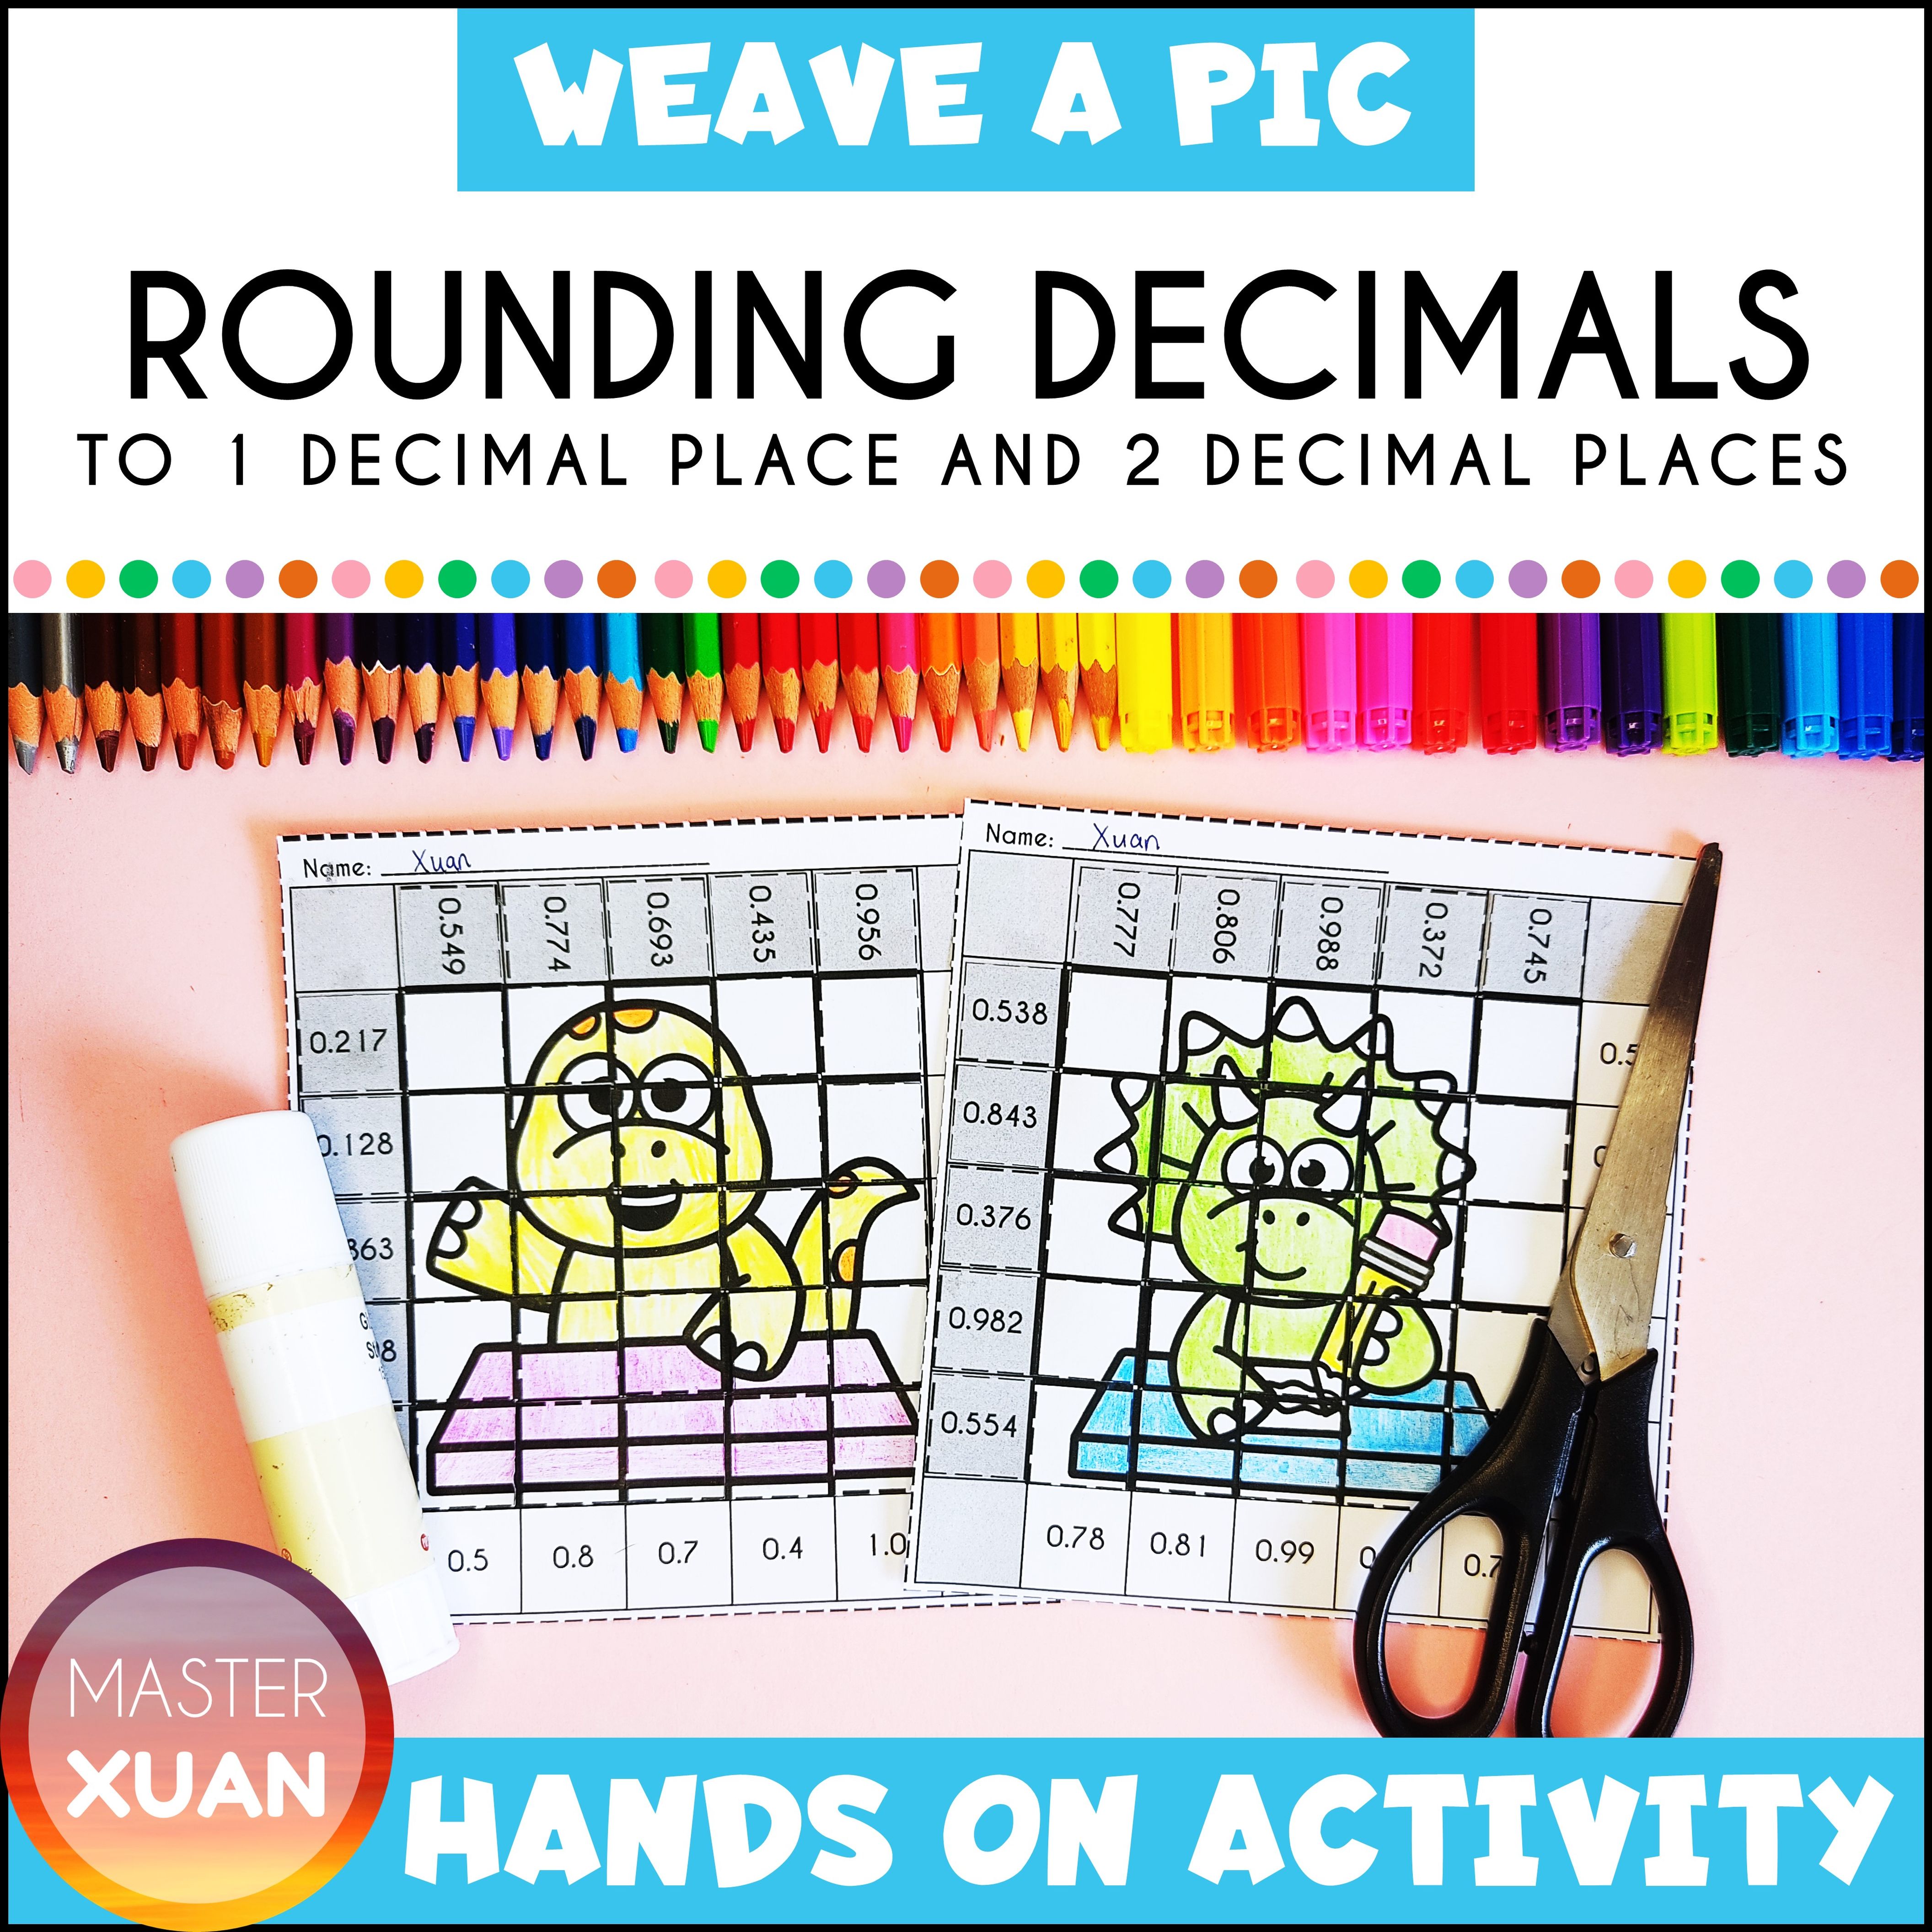
Do you need more detailed instructions on how to paper weave my Weave A Pic series to get the perfect picture? Then you don’t want to miss this blog post!
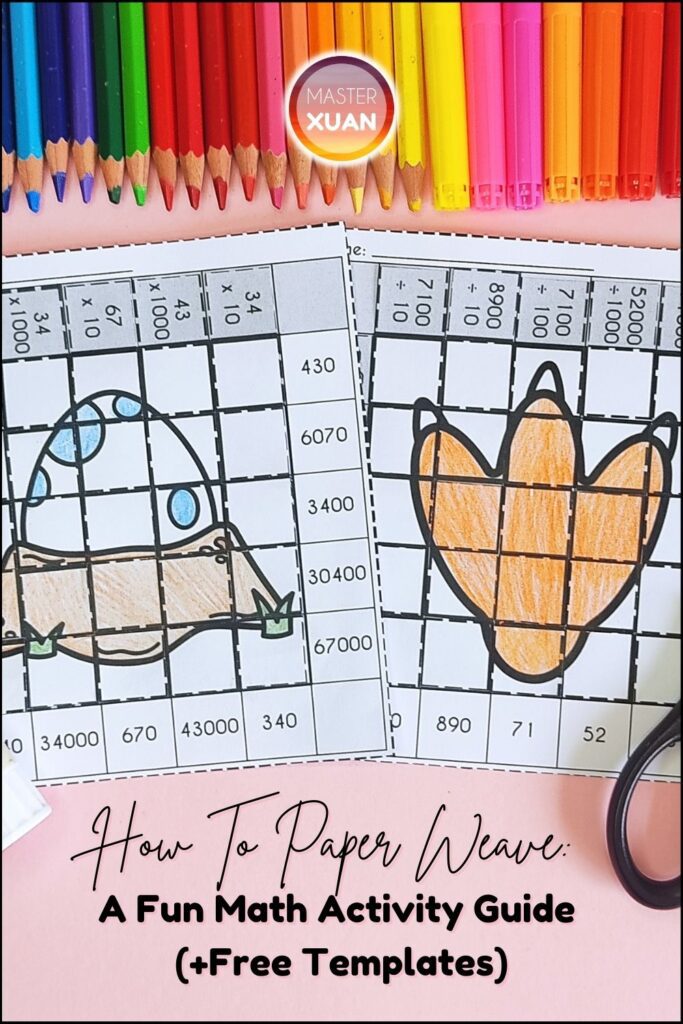
Just in case you don’t know about this great paper craft – Weave A Pic, have a look:
This product line includes many math skills. While you can get individual packs, you will save more if you buy the bundles.
The way to weave works for all of this series.
I have developed a systematic procedure for weaving, which I can teach my students to follow. After learning it once, they are able to do it independently the next time.
The results may not be perfect, but as one of my students said, “it’s ok to be imperfect!”
As a guardian, it’s important for you to learn the weaving technique and have all the tips and tricks in your arsenal. This way, if there’s a need to fix any mistakes in the project, you’ll know what to do.
There is a tutorial video in each product listing that you can view or show to your students.
Or check out my Instagram reels for paper weaving tutorial.
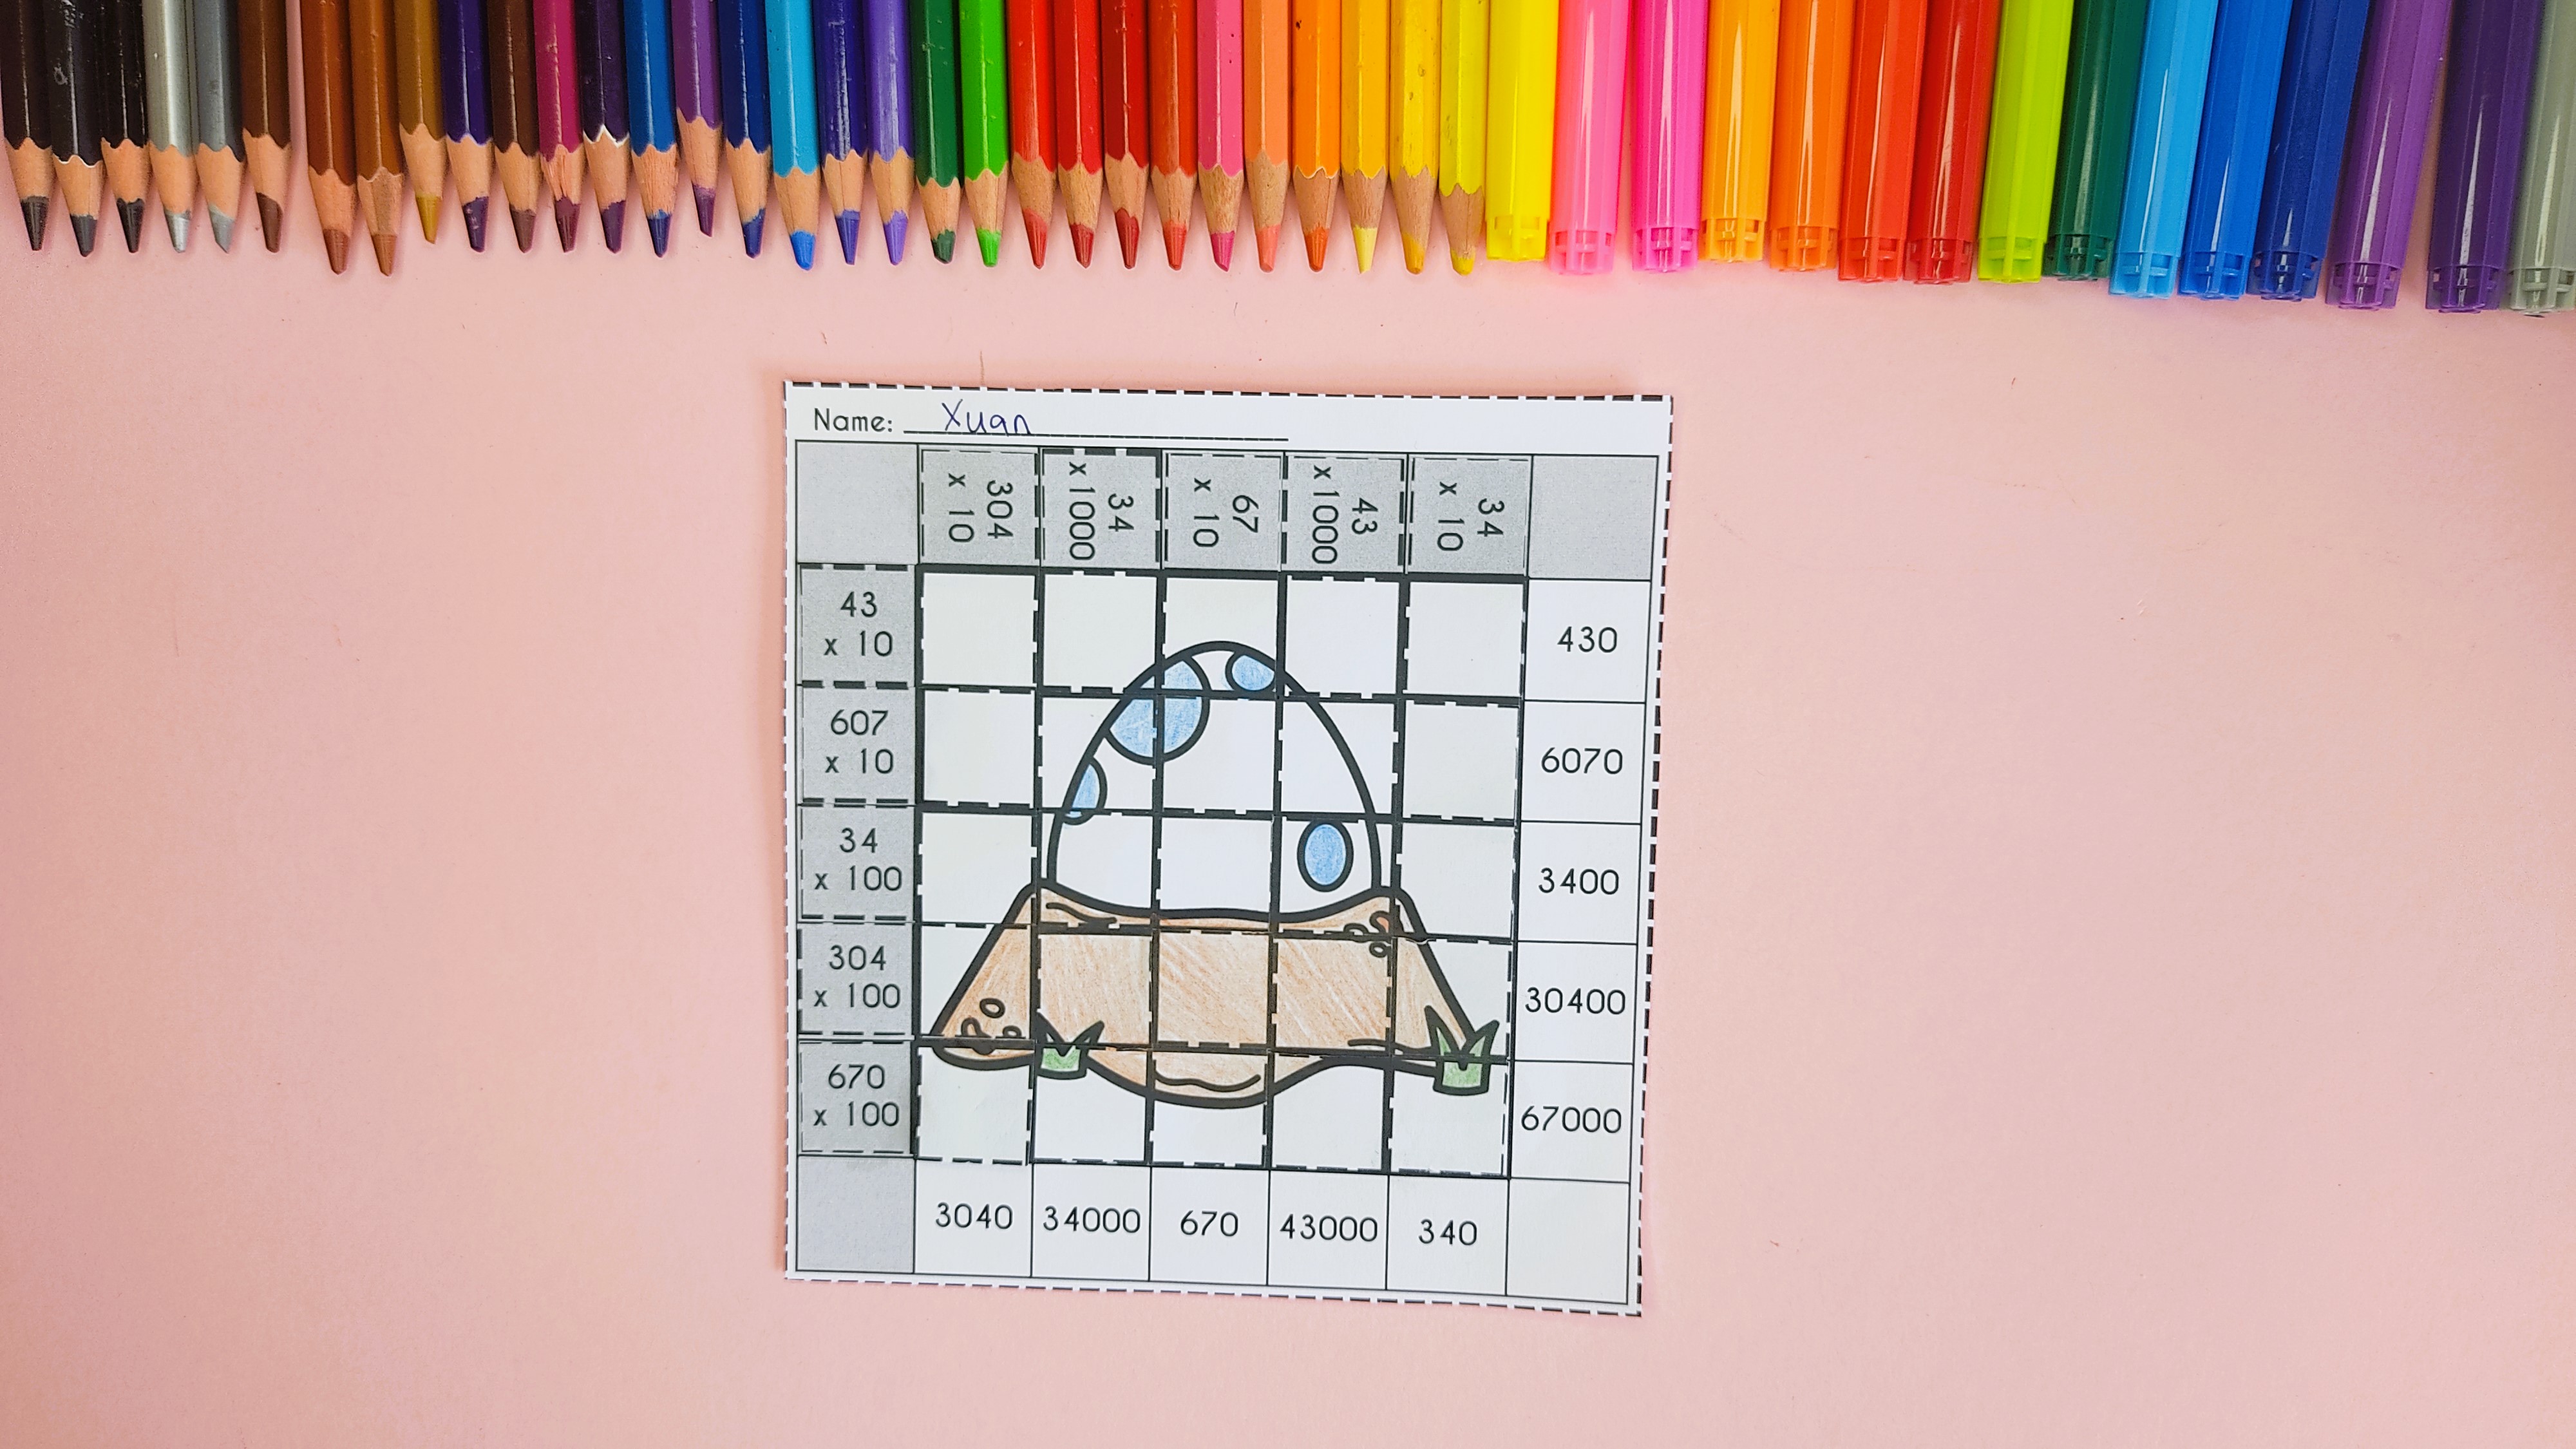
I’m using the Multiplying And Dividing Whole Numbers By 10 100 And 1000 FREEBIE as an example.
Preparing The Materials
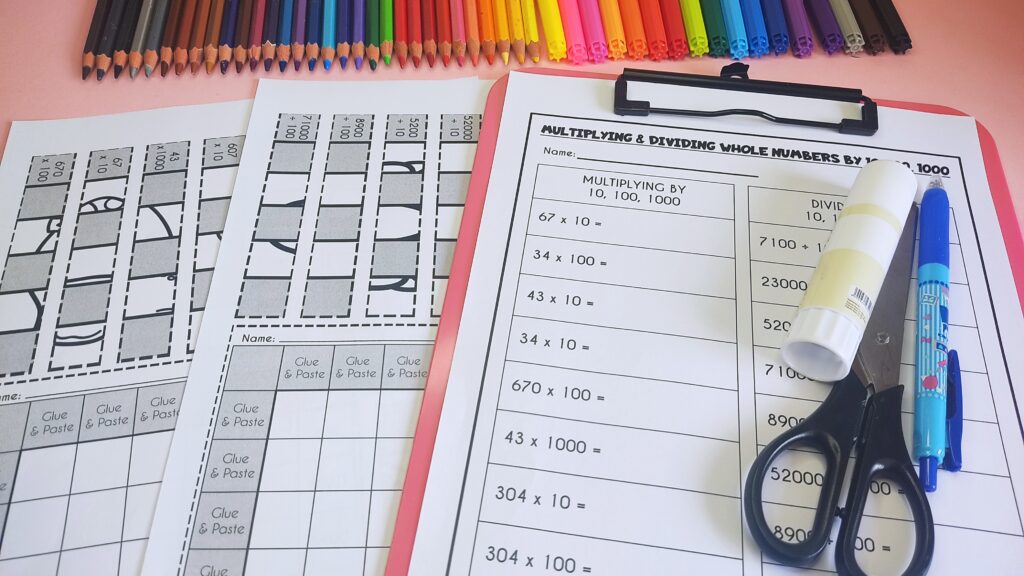
Here are what you need to prepare:
- Templates
- Pair of scissors
- Glue
- Writing materials (e.g. pencil, pen, marker)
- Coloring materials (e.g. color pencils, markers, crayons)
- Ruler (optional)
- Box/Trashcan
Place a small box or trash can near each pair of students or groups so they can clear their table when needed.
Step By Step Fun Paper Weaving Process
1) Do the questions on the recording sheets.
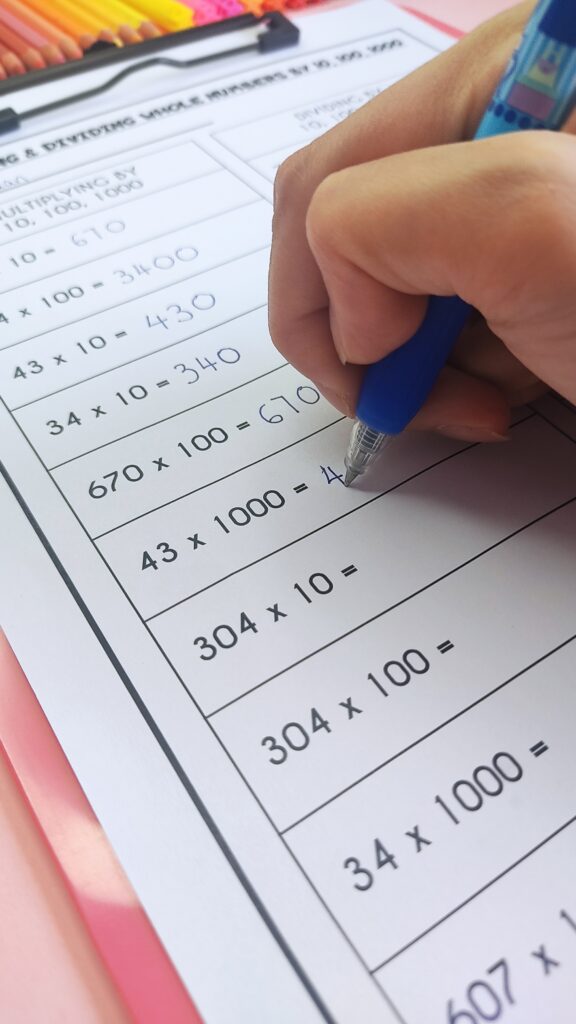
I would suggest doing the questions first before cutting the paper strips so that you can make use of the strips as soon as possible.
This way, you don’t have to worry that the strips drop or flew away.
Plus, it helps reduce the duration of getting the table messy.
Some questions can be done mentally so the recording sheets are more for accountability and can be optional.
2) Cut along the dotted lines of the templates.
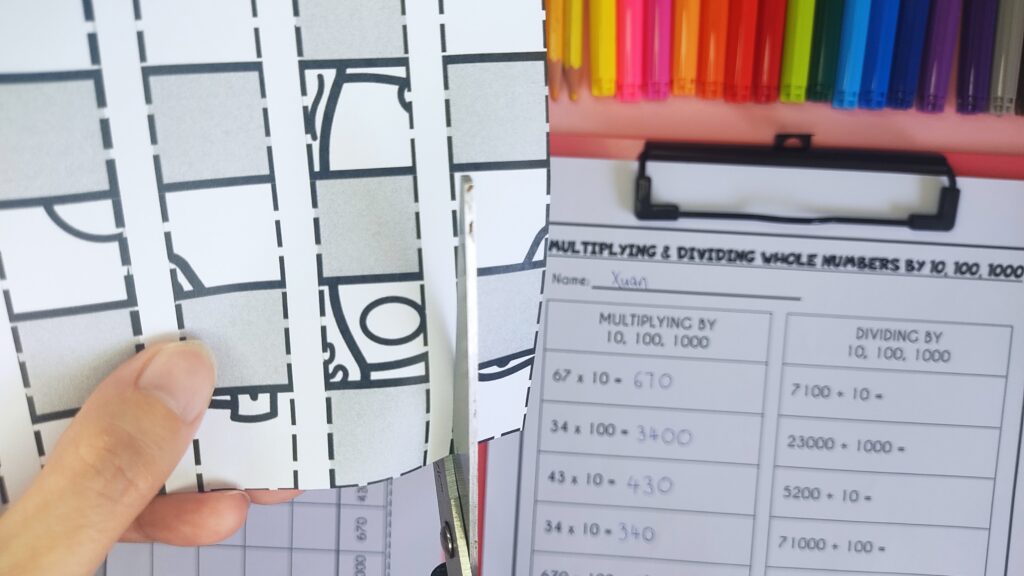
To create more distance between the paper strips, it is better to cut along the inner side of the black line rather than outside of the border.
The dotted lines are specially designed to be thicker to provide more space between strips after cutting.
Thus, you need to ensure that there is no white space left along the dotted lines as this can cause the strips to not fit together properly.
Another tip is to begin cutting all of the paper strips along the dotted line at the top of the material, creating a rectangle of 8 paper strips. This makes it easy to cut the individual long strips vertically in batches.
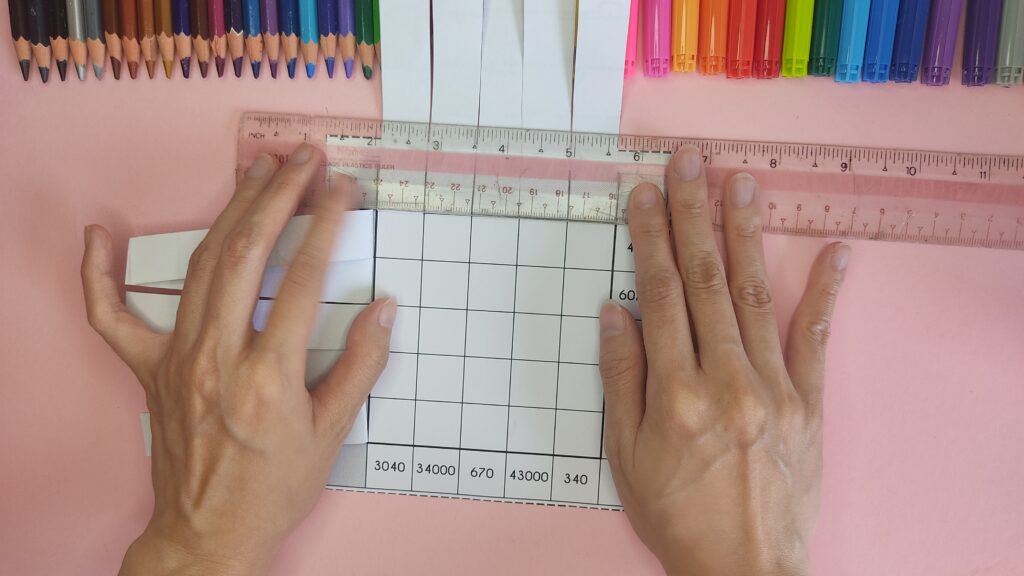
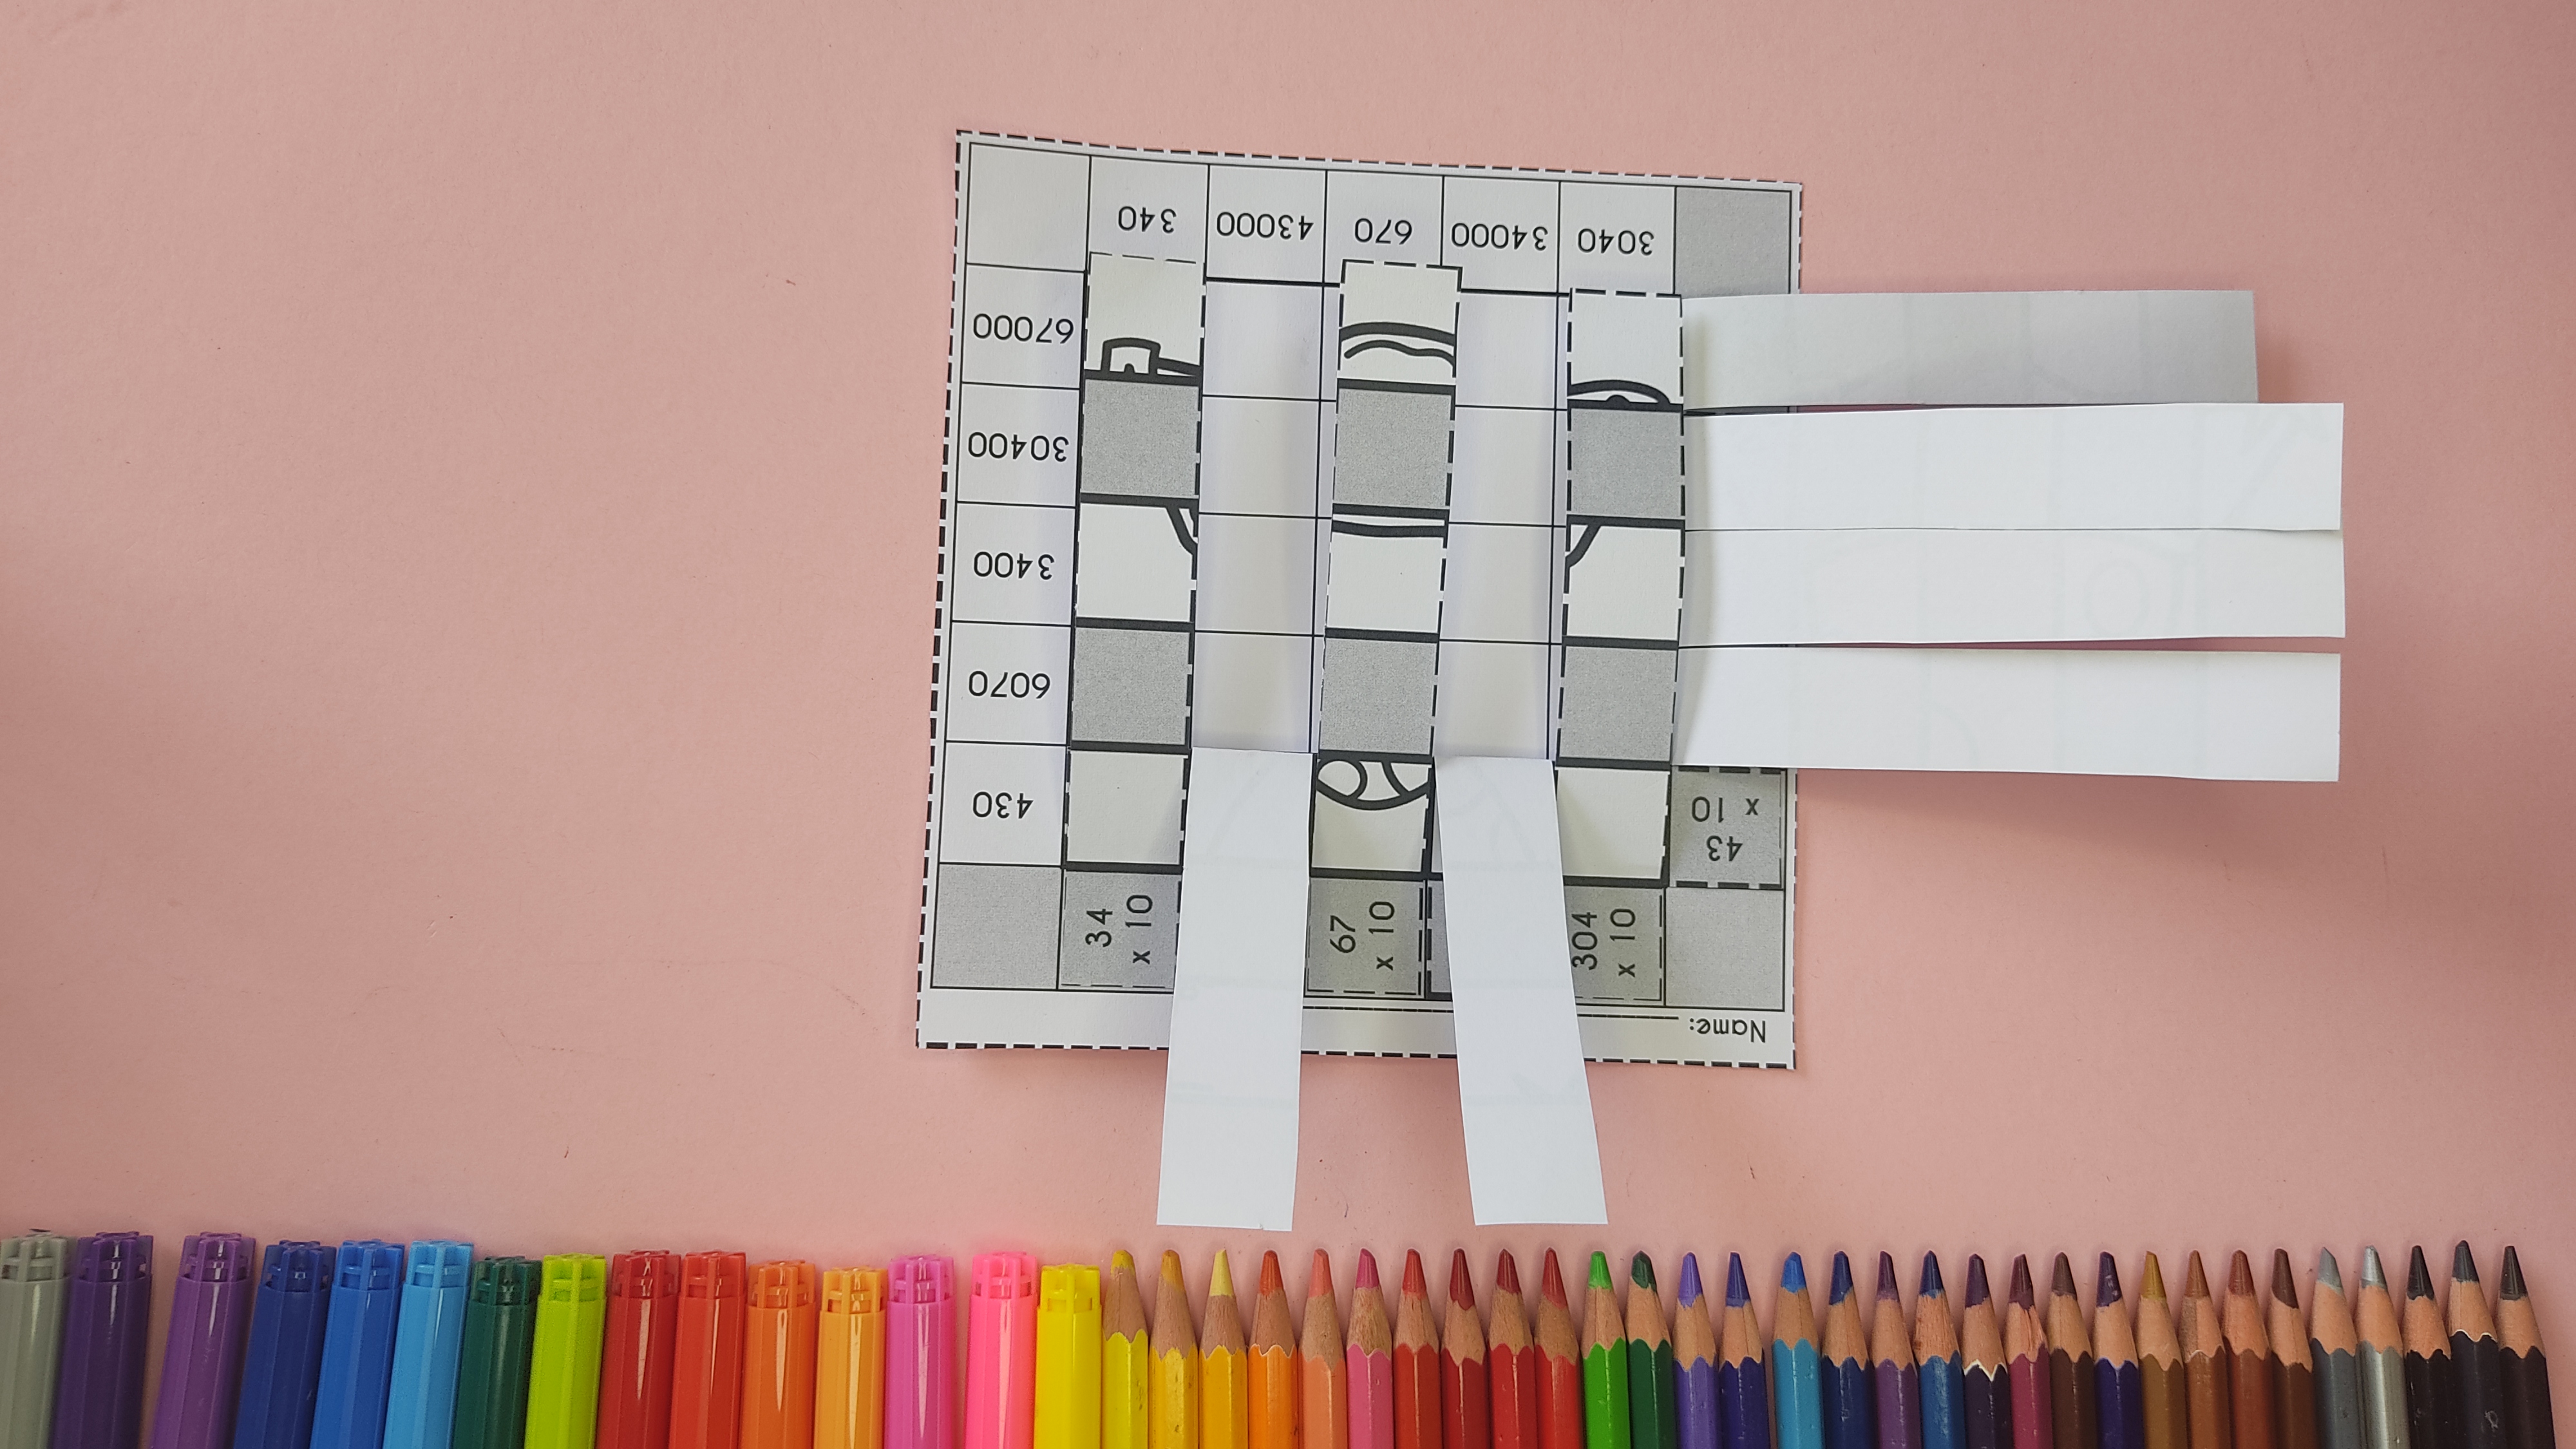
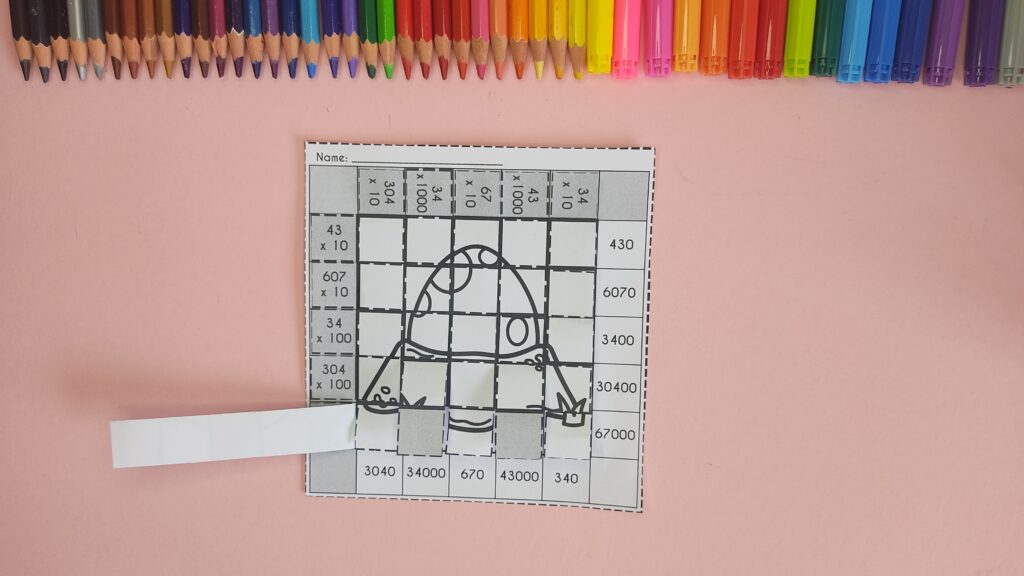
3) Find the answer and align the paper strips at the sides.
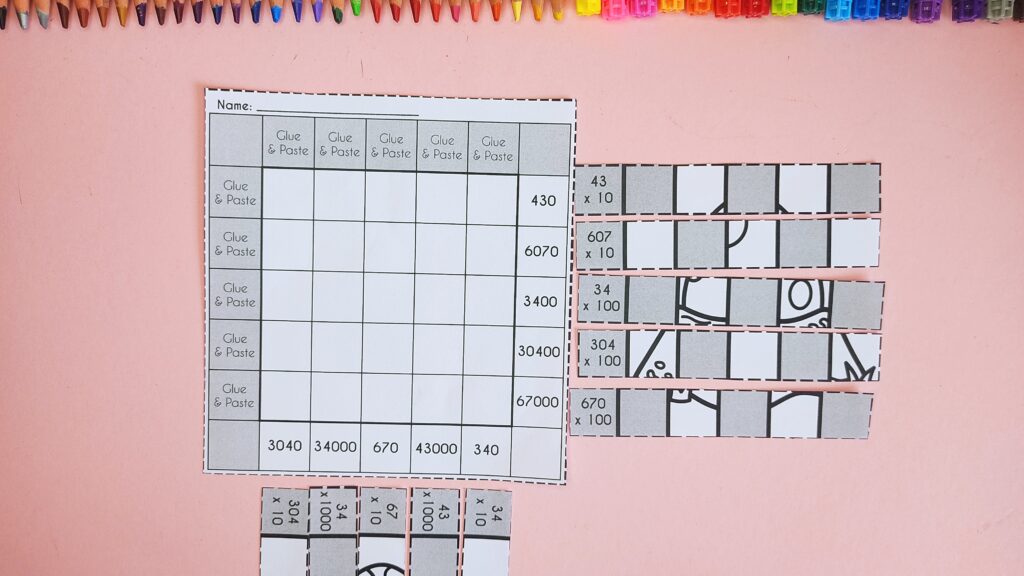
Students can use the recording sheets to find the answer and place the strips.
Alternatively, students can first match the questions with the strips. Then, find the corresponding answers and place the strips at the side at the right and bottom.
4) Apply glue to the first (gray) boxes in each column all at once.
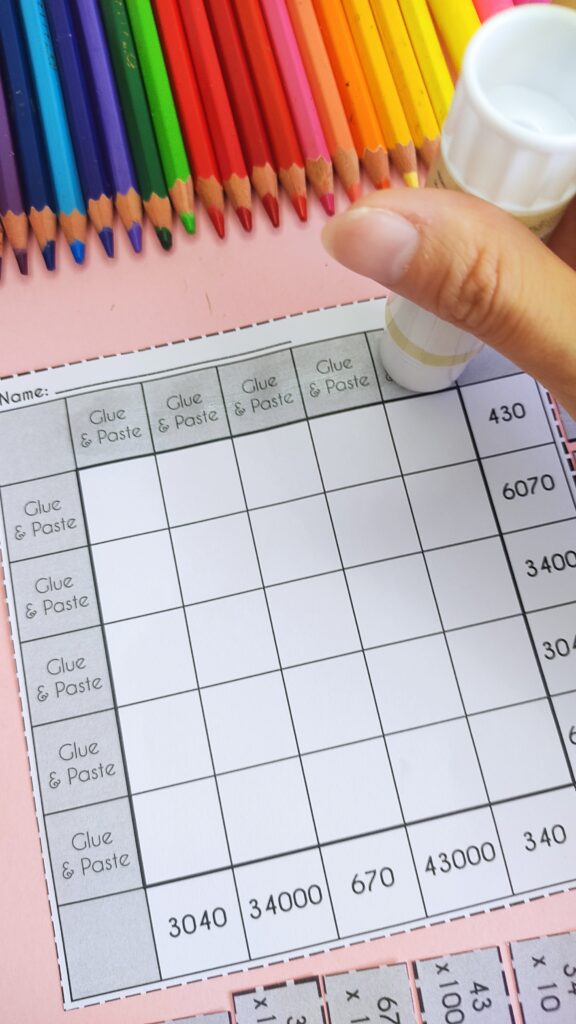
Instead of applying glue to the strip, apply it on the grid. This helps to prevent sticky fingers.
Use glue sticks instead of liquid glue to reduce mess and sticky fingers.
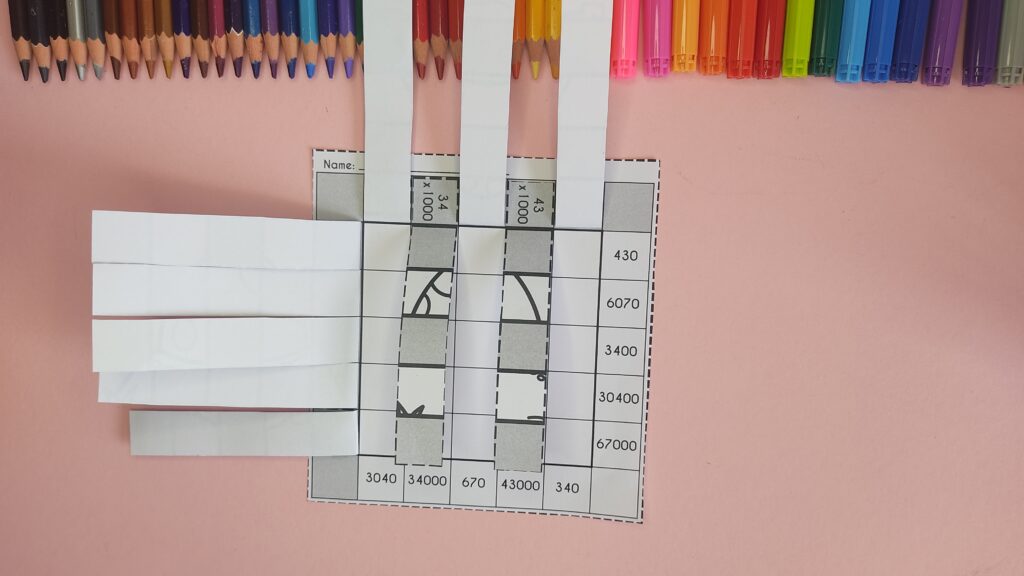
5) Paste the strips on the first (gray) boxes of each column.

Paste the strips on the first box of each column. Align the bold lines with the border of the grid and the rest of the strips.
If the strips are smaller than the grid, place it in the middle of each column.
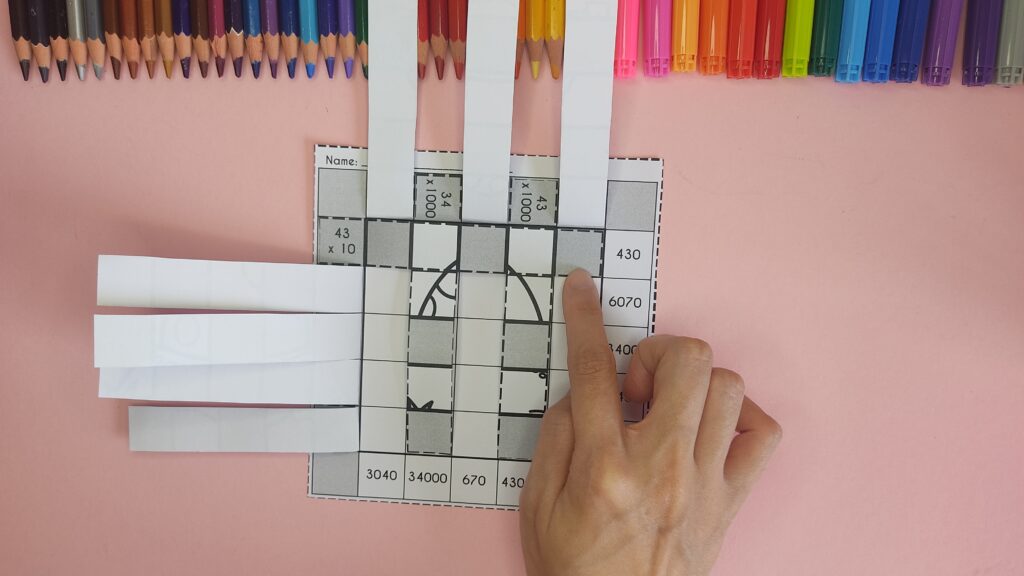
6) Apply glue to the first (gray) boxes in each row all at once.
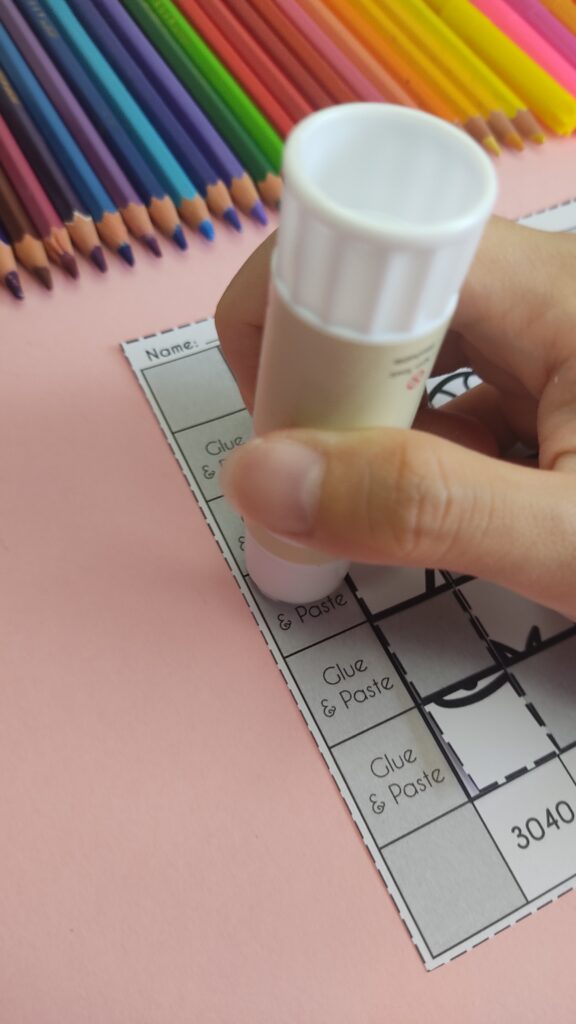
Similarly, apply glue to the first gray box of each row on the grid.
7) Paste the strips on the first (gray) boxes of each row.
Similarly, paste the strips on the first box of each row.
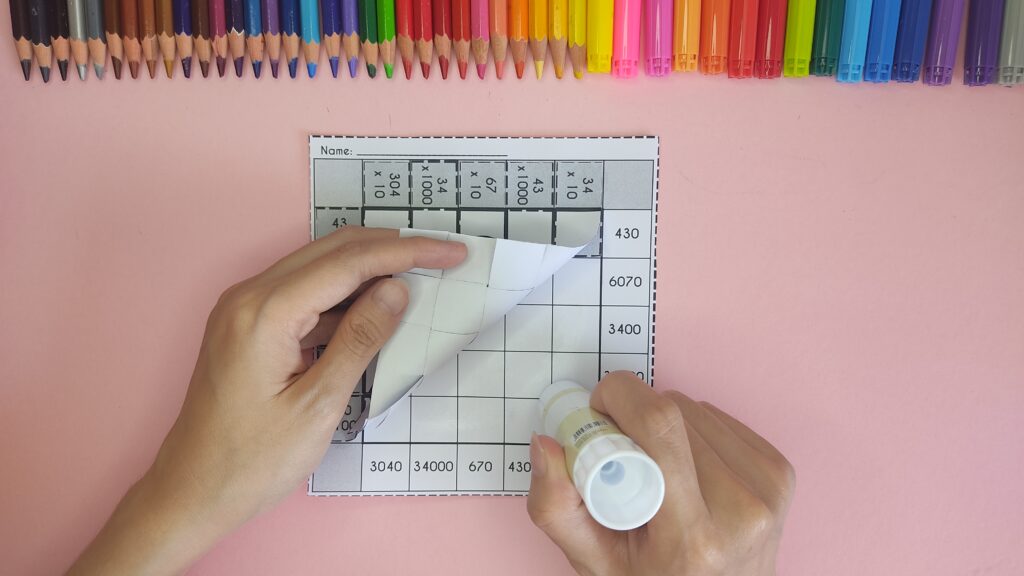
8) Fold up the weaving strips.
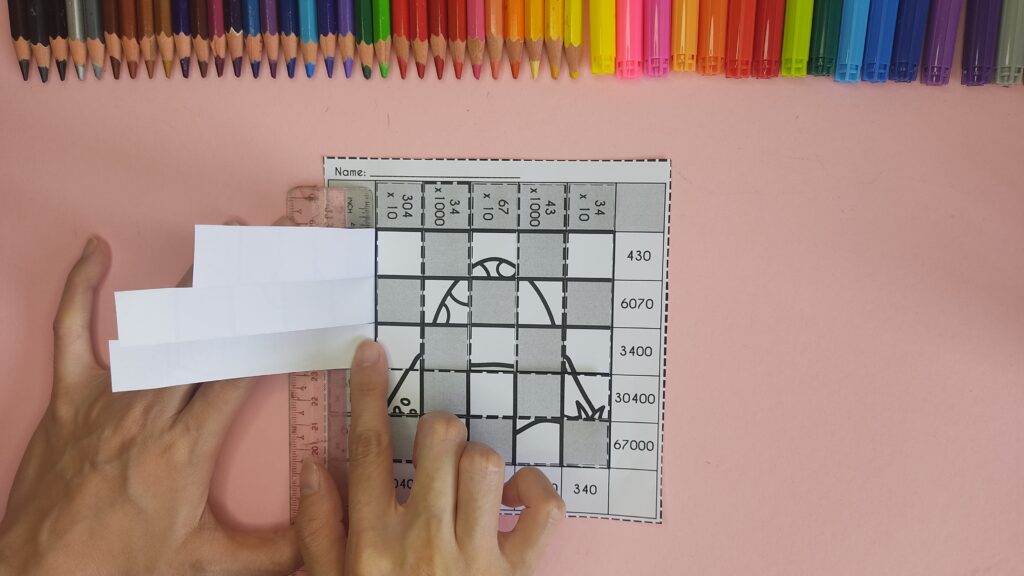
Place the ruler on the bold lines and fold back the strips of paper against the ruler. A ruler helps to ensure all strips are folded back at the same line and makes folding back easier.
After folding back, use the ruler to press down all the strips. This helps to make them stay in place.
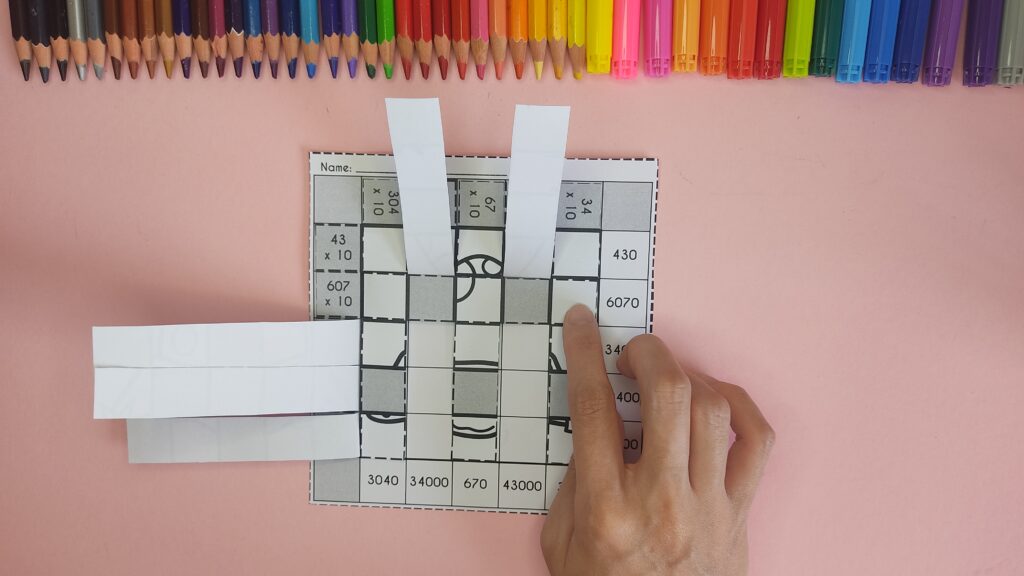
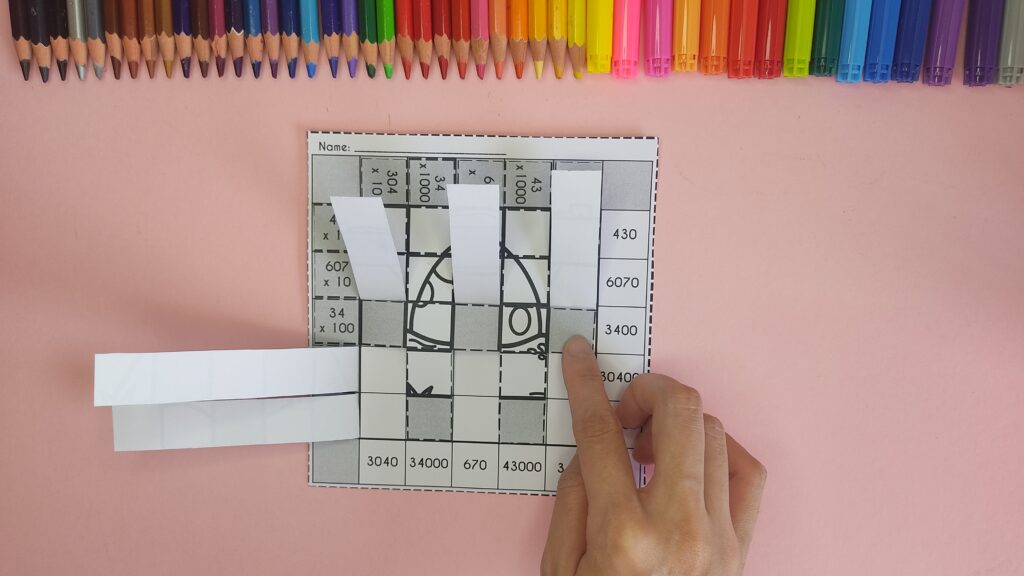
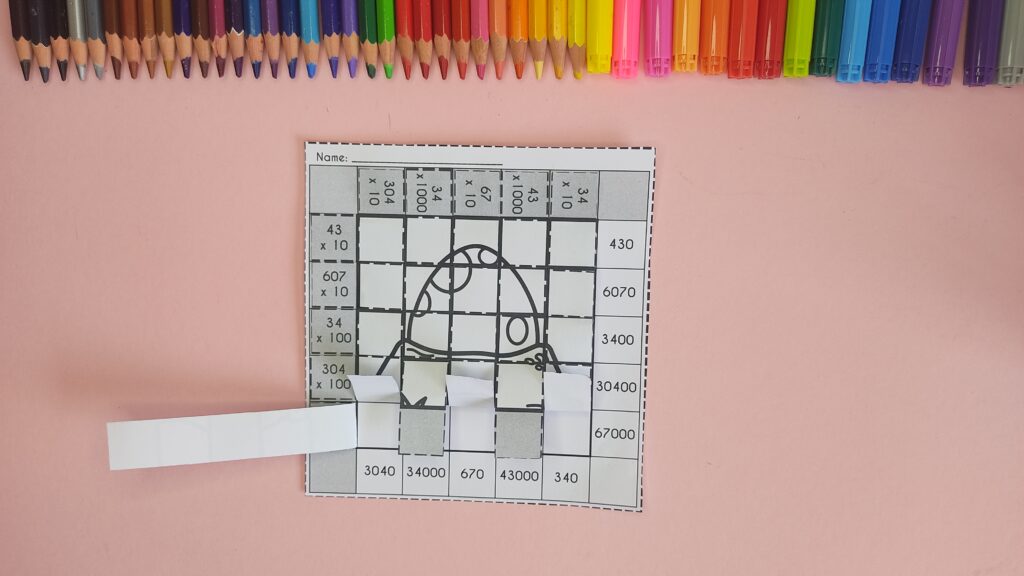
9) Put down the 2nd and 4th column strips.
10) Put down the 1st row.
11) Put down the 1st, 3rd and 5th column strips.
12) Put up the 2nd and 4th column strips.
You can fold each strip up, and press it against the previous row to let it stay in place. This way, you don’t have to keep holding the column strips up to prevent it from blocking the way.
Try to fold along the grid lines (or even above the lines) to ensure that there is space in the next row.
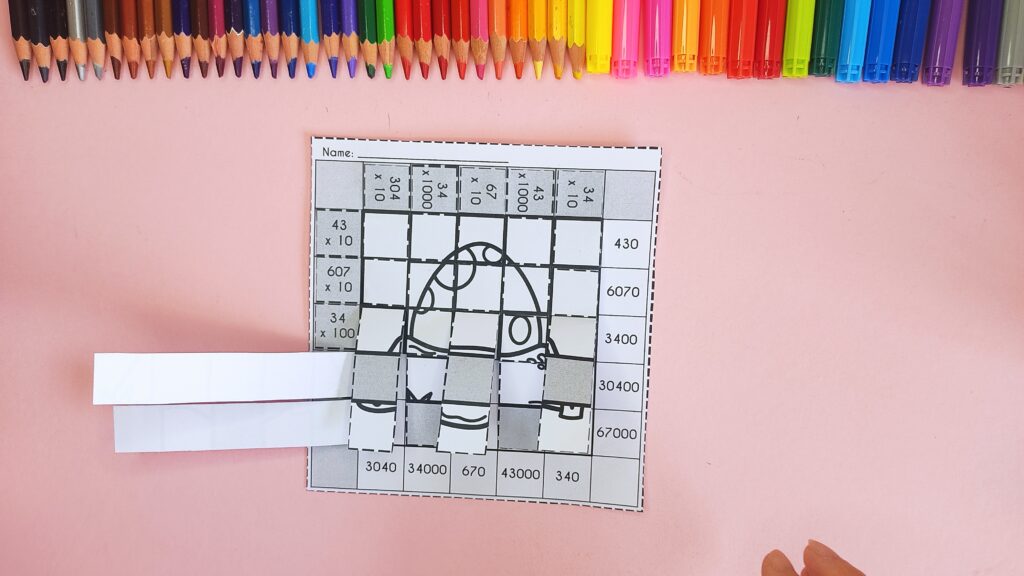
13) Put down the 2nd row.
14) Put down the 2nd and 4th column strips.
15) Put up the 1st, 3rd and 5th column strips.
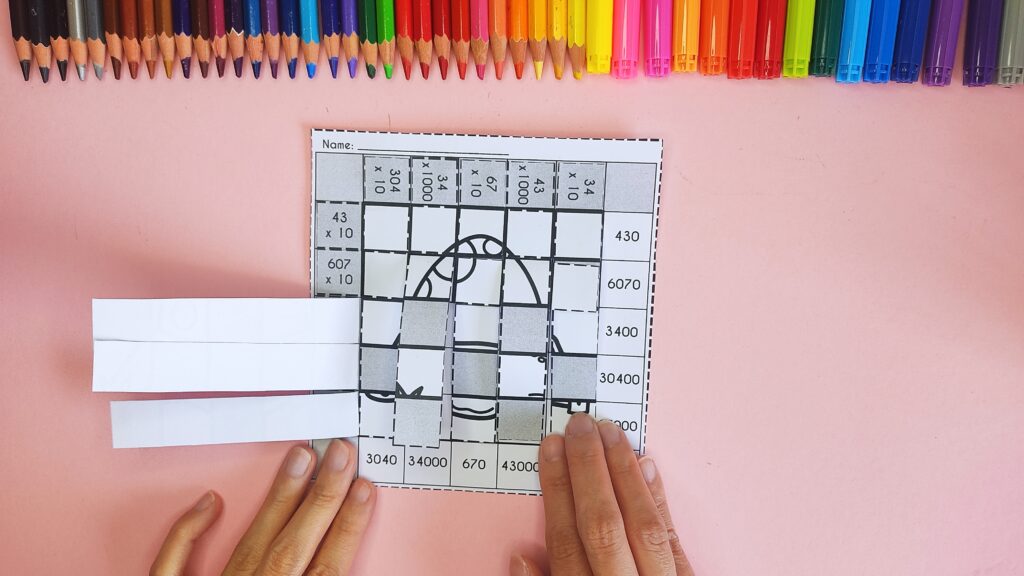
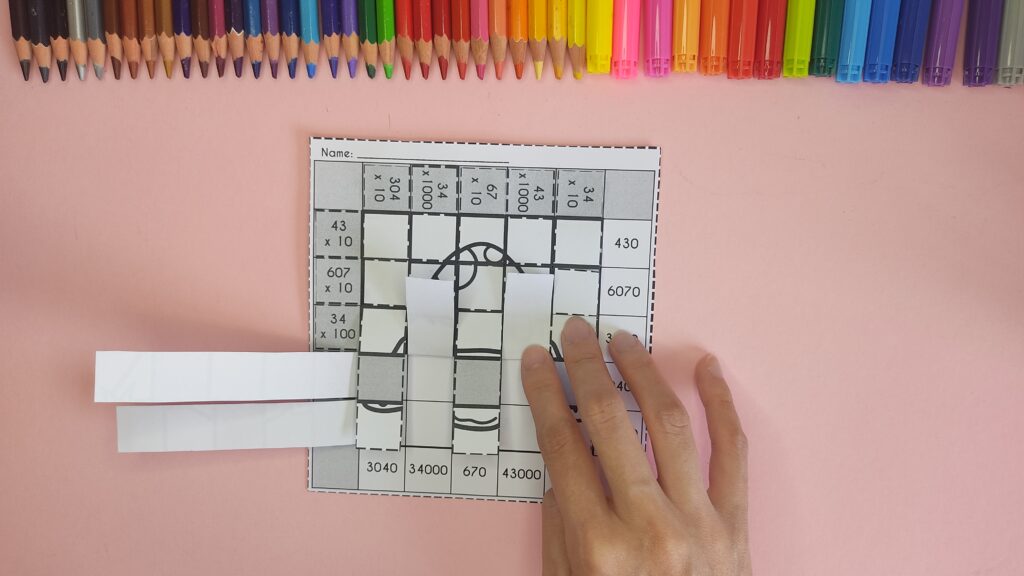
16) Put down the 3rd row.
17) Put down the 1st, 3rd and 5th column strips.
18) Put up the 2nd and 4th column strips.
19) Put down the 4th row.
20) Put down the 2nd and 4th column strips.
21) Put up the 1st, 3rd and 5th column strips.
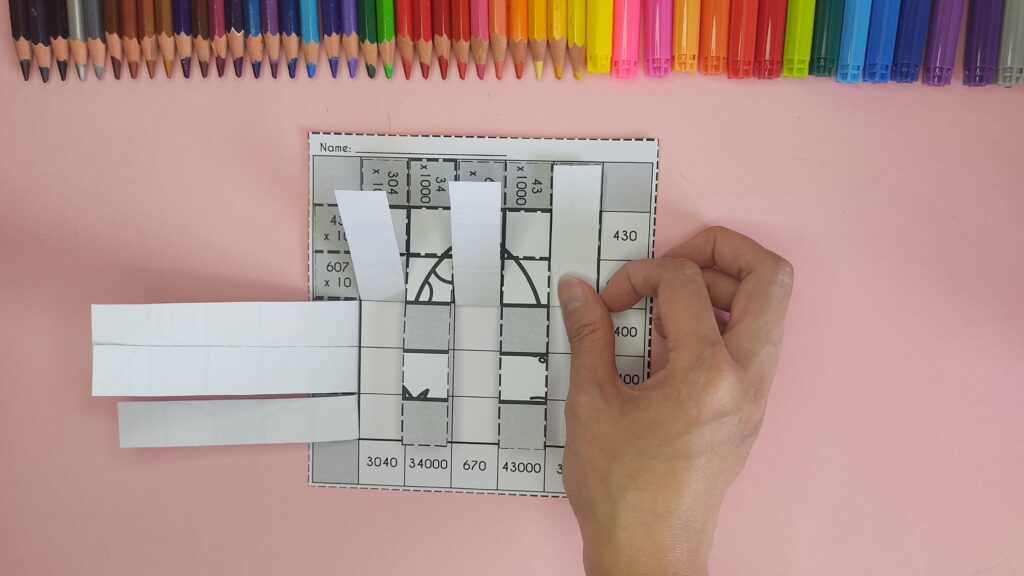
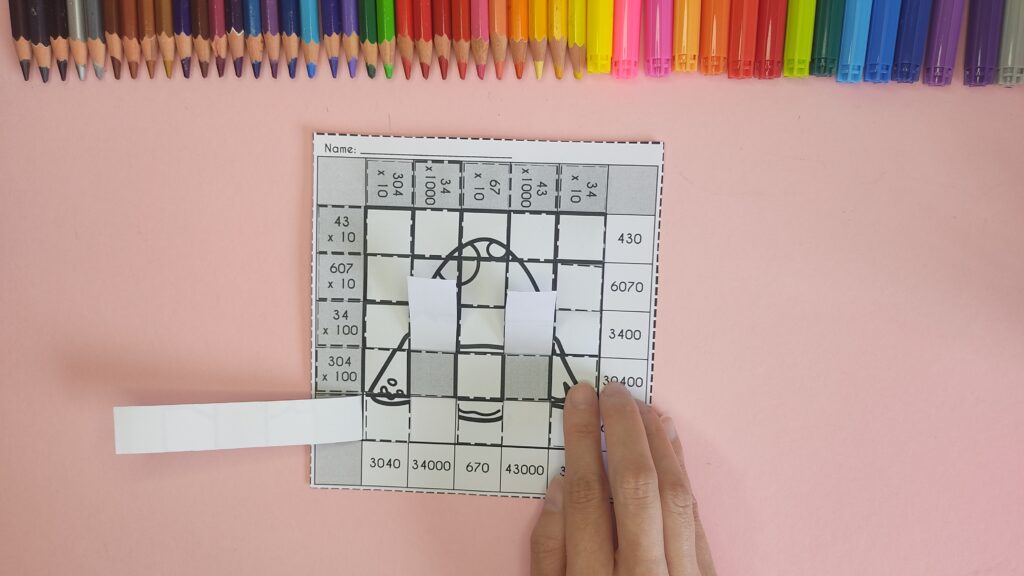
22) Put down the 5th row.
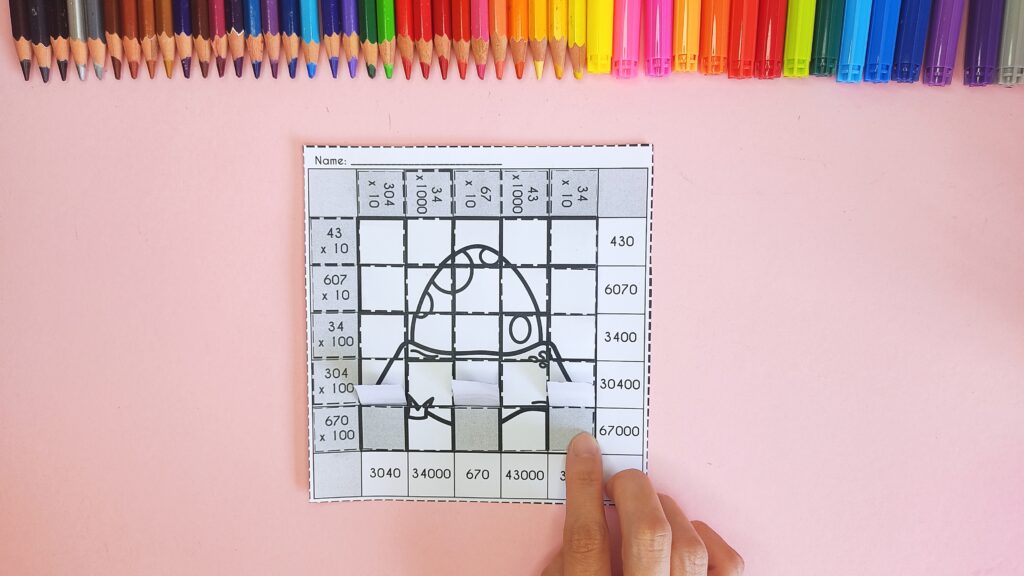
23) Put down the 1st, 3rd and 5th column strips.
24) Glue it down.

Glue the last box of the 1st, 3rd and 5th column strips, 2nd, 4th row strips. Shift slightly to align it better if necessarily.
Then, lift up the whole piece slightly to place glue at the exposed area (triangle).
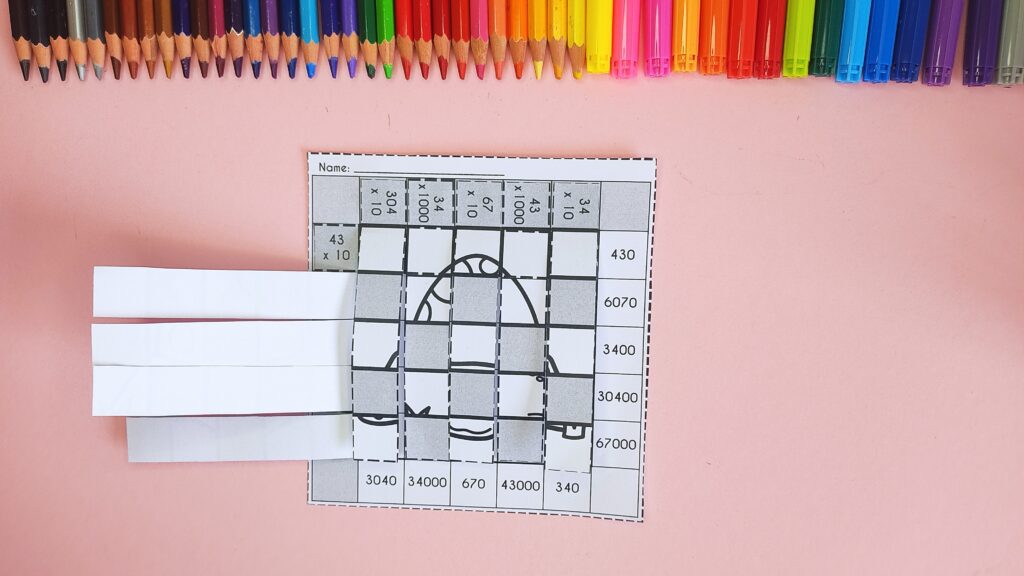
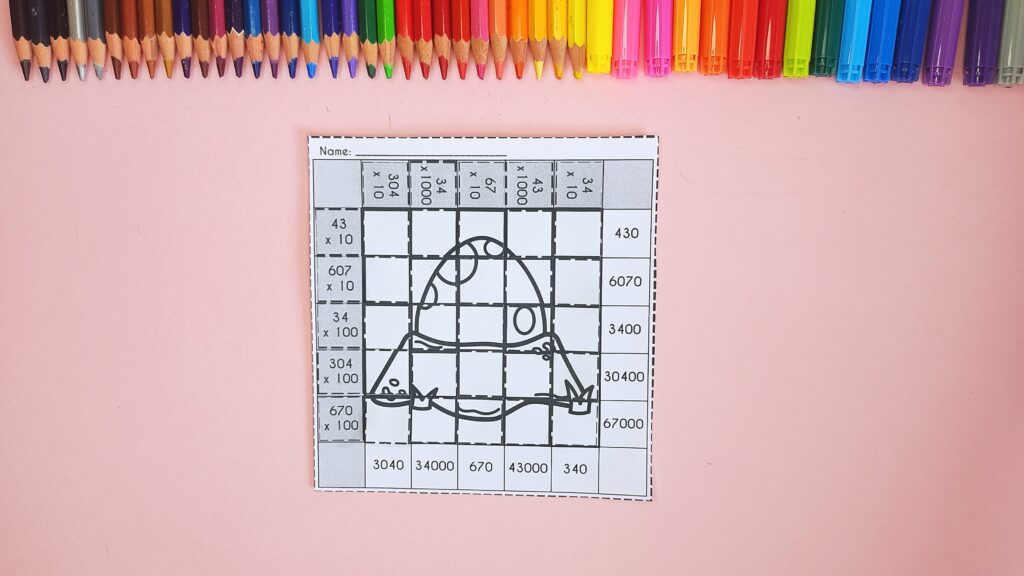
25) Color!
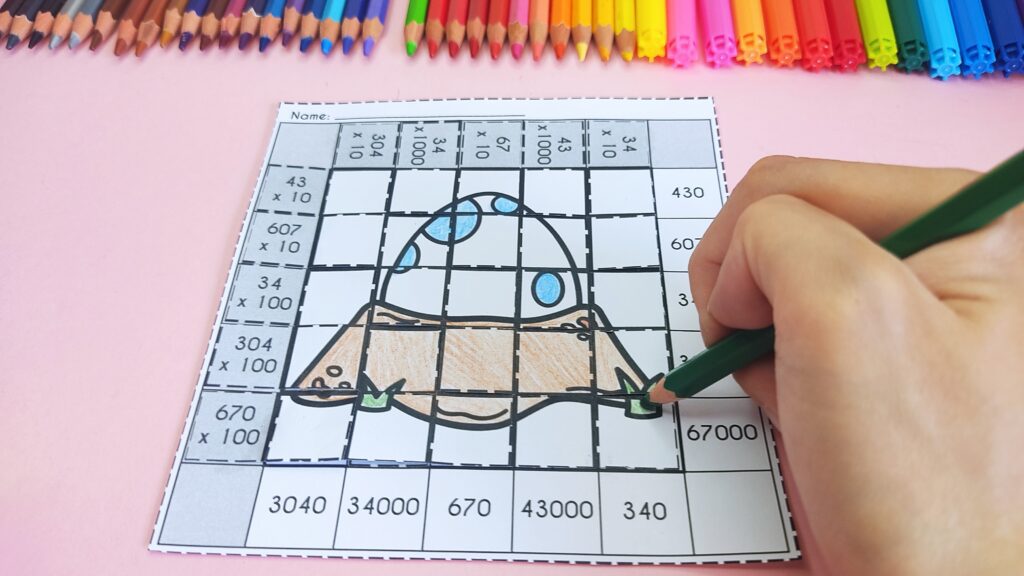
26) Write your name and it’s done!
Different ways to use this resource
Make their unique piece of paper art.
There are multiple ways to foster creativity for this series.
One way is to have students using different colors to color each part before cutting to achieve a pop art style.
Another approach is to encourage students to add unique elements to the background.
Either way, students can create their very own unique piece of art!
Help students do the cutting.
Yes, this can be time-consuming if you are doing it for many students.
Therefore, I will only recommend this if you are tutoring 1-2 kids or homeschooling.
Cutting one template takes less than 10 minutes, so you can cut them while the students work on answering questions.
The advantage of cutting the templates yourself is that the strips are more likely to be properly cut, resulting in a better-looking final product.
Additionally, students won’t spend too much time on the non-academic aspect of the activity.
You can choose how much you want to help the students with cutting. For instance, you could just cut the top part of the template and have them practice their fine motor skills by cutting the grid and two strips at the bottom.
If you decide to cut everything for the students, you can add a scavenger hunt activity by hiding the strips around the room for the students to find.
This way, they can have fun walking around the room searching for the strips.
Don’t teach students how to paper weave.
Yup, you heard me right.
Don’t teach them how to do it.
Just show them an example of the final result, and watch them figure it out by themselves how to transform the strips to the final product.
Some of my students managed to “weave” it without my help. They can’t wait for me to teach them the next step and figure that they can do it by themselves. So by the time I move on to teach the weaving part, they are already half-way done.
They may not do it in a systematic manner, but they get the work done.
So if you leave them be, believe me, students have a way to still do it.
However, you can choose whether to have them glue the first boxes to the grid before letting them try on their own or not.
Final Thoughts On How To Paper Weave
In conclusion, this article provides a detailed step-by-step guide on how to paper weave using the Weave A Pic series, a unique craft that lets students practice their math skills as they complete the hands-on activity.
By following the systematic procedure outlined in this blog post, students can create their own paper weaving art pieces.
As you learn how to paper weave, you will realize that it is a bit hard for little fingers and not really suitable for kids of all ages. Hence, weaving projects are more suitable for primary 3 students and older children.
While it is advisable to follow the instructions closely for best results, students can still experiment and have fun with the process.
Ultimately, the Weave A Pic series provides a fun and engaging way for students to practice math skills while also honing their creativity and fine motor skills.
Want to try it out by yourself? Grab this Multiplying And Dividing Whole Numbers By 10 100 And 1000 FREEBIE in my TPT store!
Or have this exclusive craft send right to your inbox. Just sign up to my newsletter today!
Related Read: 5 Adding and Subtracting Fractions Activities That Students Really Enjoy
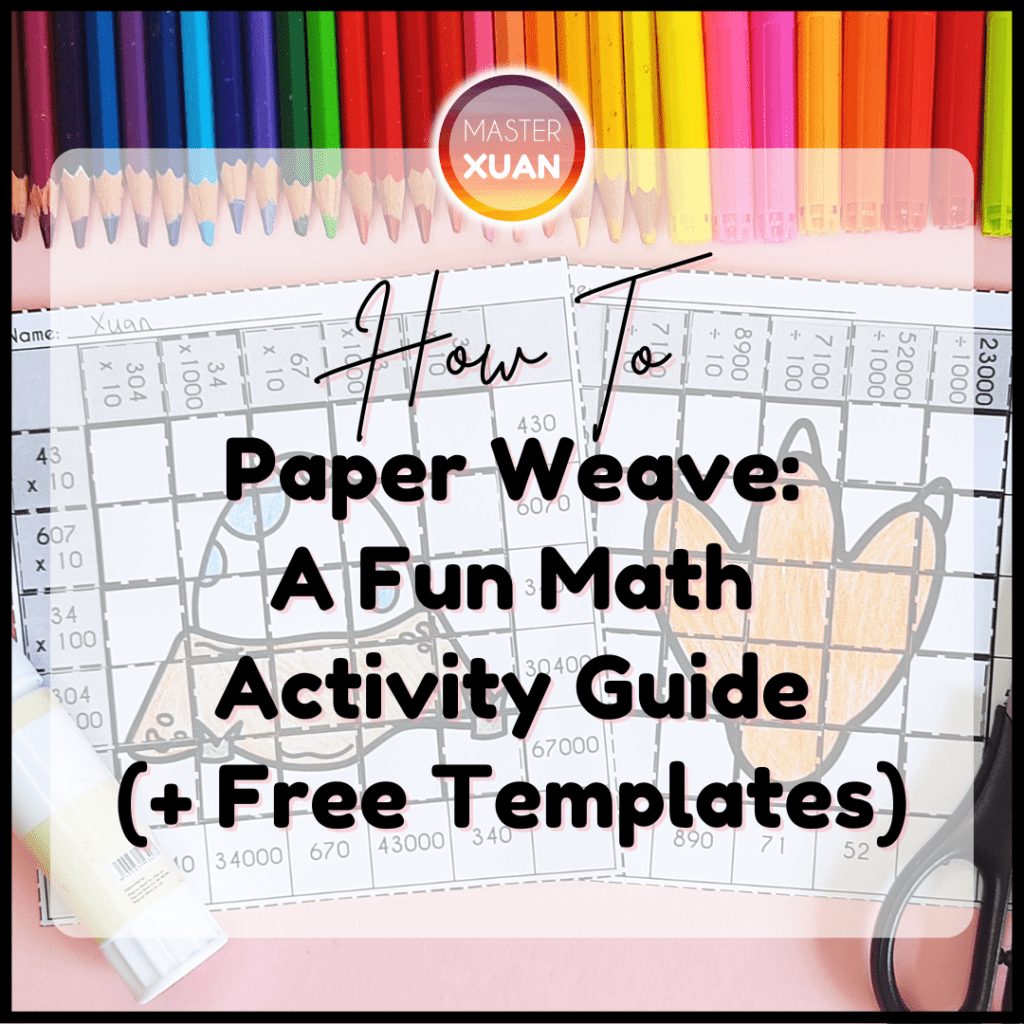
Here are some pins that you can save to bookmark this post so you can learn how to paper weave in the future. Save them to your Pinterest Board now! ↓